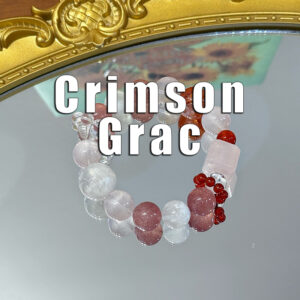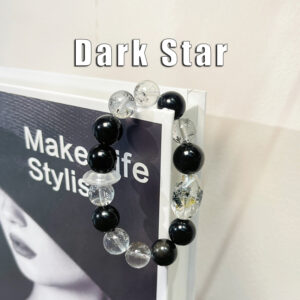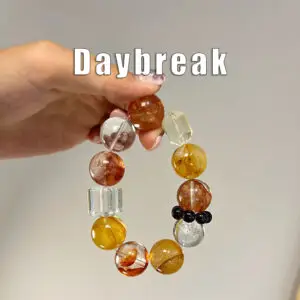
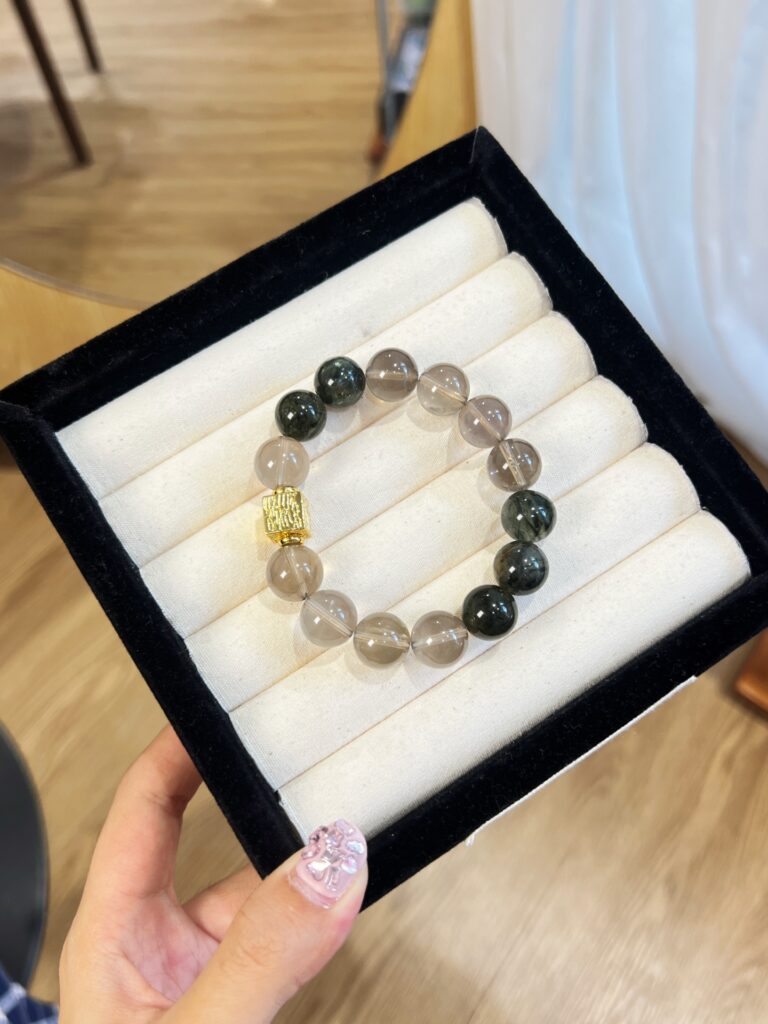
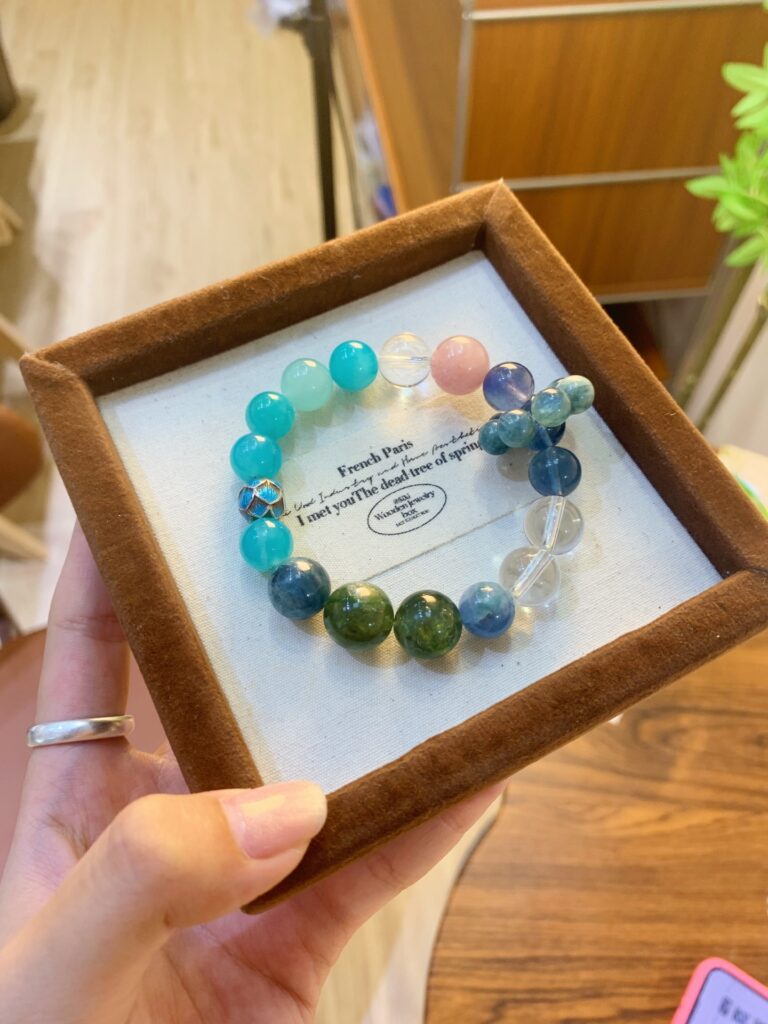
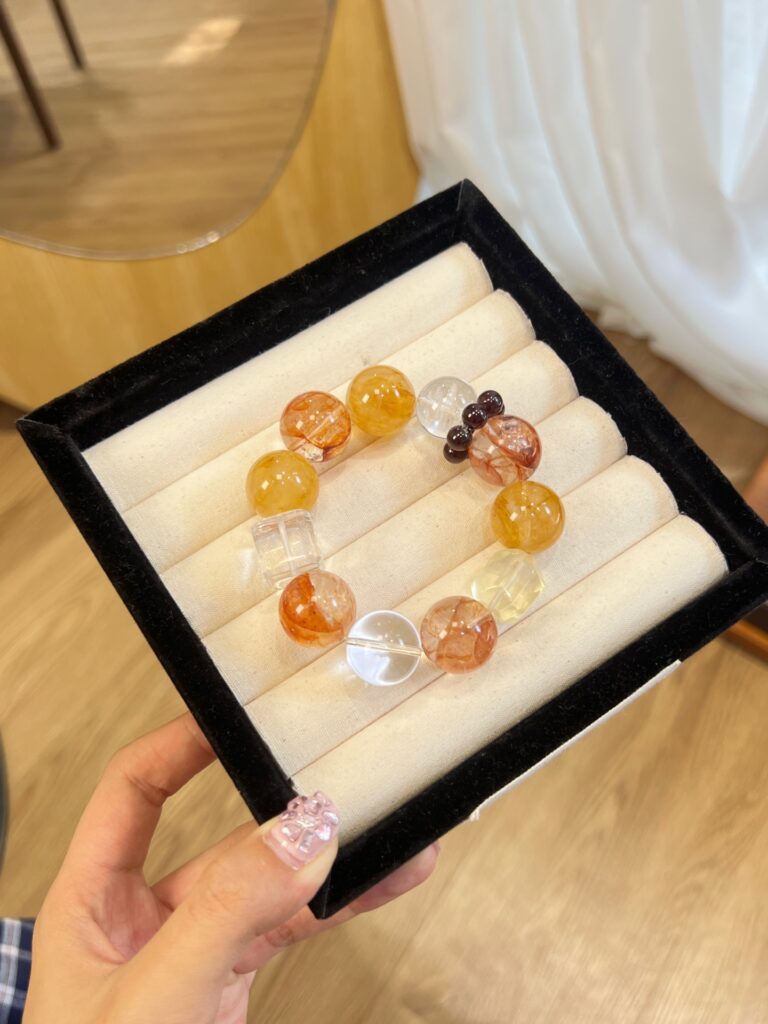
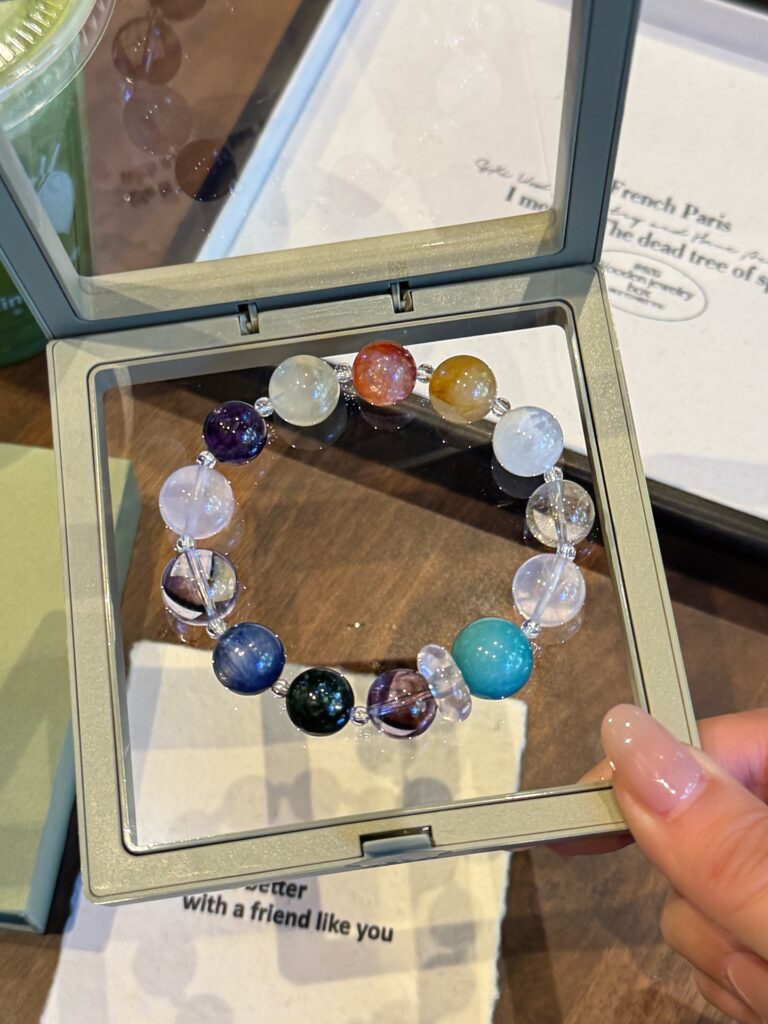
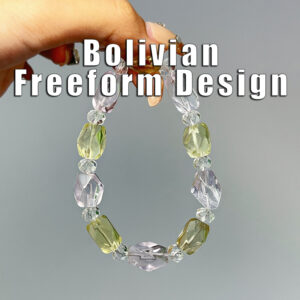
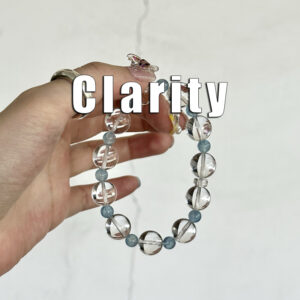
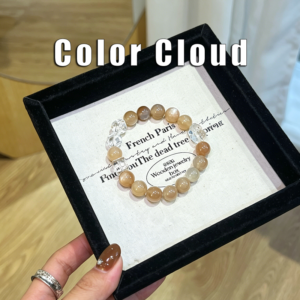
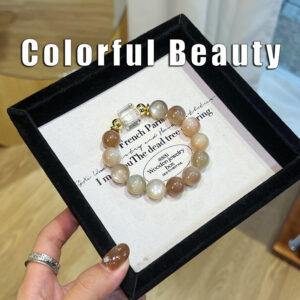
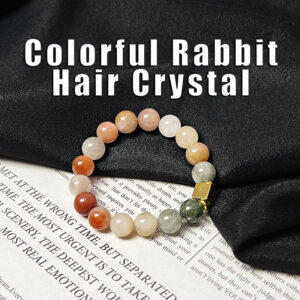
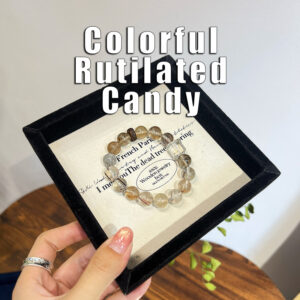
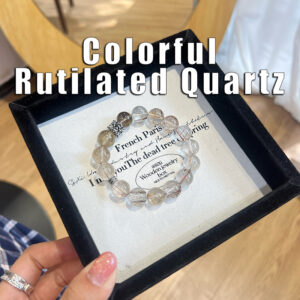
Learn crystal DIY from the ground up and craft necklaces, bracelets, earrings, and décor pieces that turn your inspiration into something radiant.
What Is Crystal DIY?
Crystal DIY is a hands-on creative process that combines natural or man-made crystals, beads, metal findings, and personal design ideas. You can make jewelry, charms, gifts, or decorative objects based on your own style and purpose. It is not only a craft skill, but also a way to express personality, slow down, and turn inspiration into something tangible.
Why More People Are Falling in Love with Crystal DIY
1. Personal Expression
Every piece can be customized in color, material, and structure, making it truly one of a kind.
2. Easy to Start
With simple tools and a clear learning process, beginners can complete their first piece quickly.
3. Relaxing and Rewarding
Designing and assembling crystal pieces can be deeply calming, helping you focus while bringing a strong sense of accomplishment.
4. Perfect for Personal Use or Gifts
Crystal DIY creations are ideal for personal wear, collecting, or gifting something handmade and meaningful.
5. Easy to Grow Into
You can start with simple beading and gradually expand into wire wrapping, styling, themed collections, or even small-scale business creation.
What Can You Create?
1、Necklaces
Perfect for everyday wear or gifting, with room to highlight a centerpiece crystal and overall style.
2、Bracelets
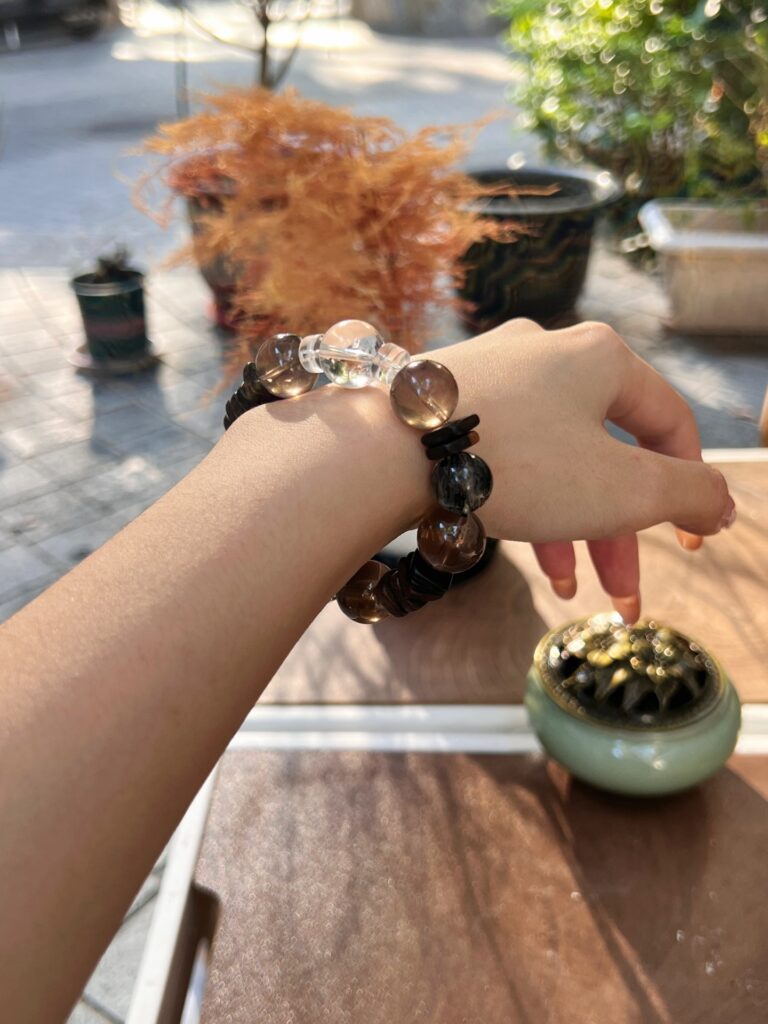
Flexible and beginner-friendly, bracelets are one of the easiest ways to start.
3、Earrings
Delicate and elegant, ideal for experimenting with color matching and balanced design.
4、Charms & Pendants
Great for bags, keys, phone accessories, or small meaningful gifts.
5、Decor Pieces
A beautiful way to combine handcrafted details with interior styling
Materials and Tools
Start Your First Crystal Piece in 6 Steps
Step 1
Choose Your Project Type
Decide whether you want to make a necklace, bracelet, earrings, or a décor piece, and define the structure and intended use.
Step 2
Prepare Materials and Color Palette
Select crystals, findings, and supporting materials based on your theme, then define your main and accent colors.
Step 3
Plan the Arrangement
Lay out your materials before assembling to check proportions, symmetry, and visual balance.
Step 4
Assemble or Wire the Piece
Follow your design to bead, connect, secure, or wrap the components.
Step 5
Attach Finishing Components
Add clasps, hooks, loops, or other finishing parts and make sure every connection is secure.
Step 6
Check, Finish, and Showcase
Review tension, length, and overall appearance, then photograph your finished piece.
Safety Tips and Important Notes
- Stay focused when using pliers and cutters to avoid hand injuries.
- Keep small beads and components away from children and pets.
- If using wire, cover or bend sharp ends properly to prevent scratches.
- Natural crystals may vary in texture, inclusions, and color, which is normal.
- Avoid excessive pulling, impact, or prolonged humidity when wearing or displaying finished pieces.
About Us:
Turning Inspiration into Something You Can Hold
We believe handcraft is more than making an object—it is a way to carve out a calm, intentional moment in everyday life. Crystal DIY gives people a beautiful way to express style, emotion, and personal stories through their own hands. Through beginner-friendly tutorials, carefully selected materials, and ever-growing inspiration, we hope to help more people move from “I want to try” to “I made it myself.”
What Makers Are Saying